
 |
This article needs your help. The reason given was:
Please edit this page to resolve the problem and remove this tag. |
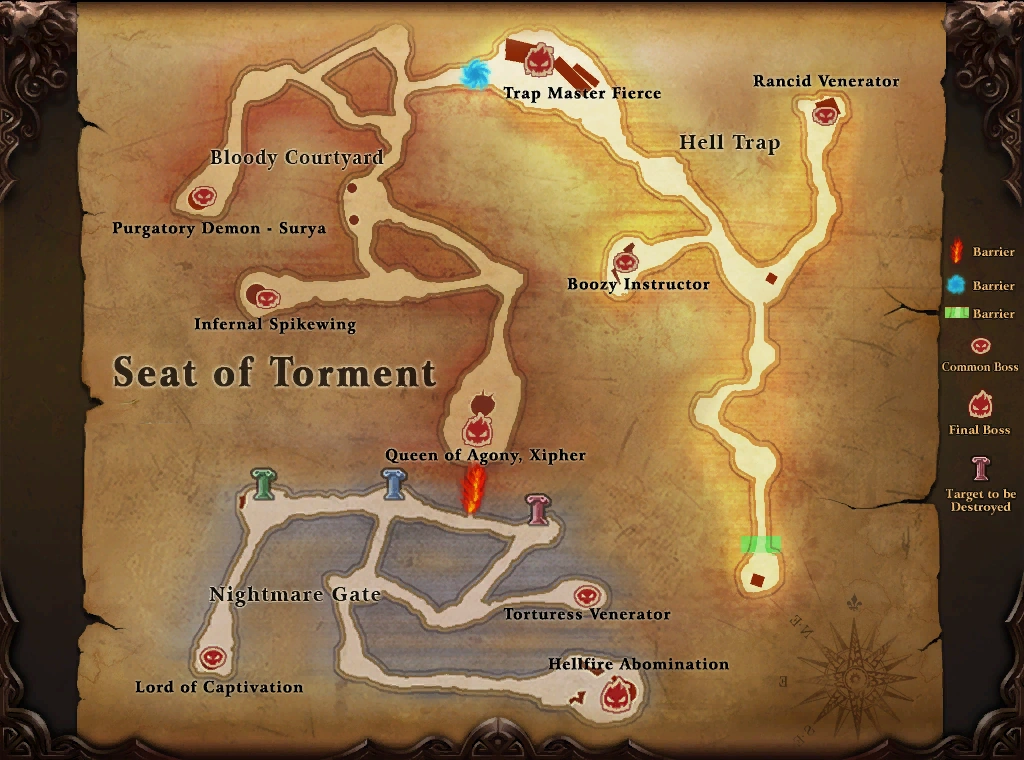
The Seat of Torment is a dungeon located in Lothranis, located west of the Lunar Cloister. It serves as a FB99 for characters on the sage path completing the Master of Harmony cultivation. It is also a location for weekly quests. The dungeon has been revamped twice to increase difficulty. In its current form, it is split up into three sections - Nightmare Gate, Hell Trap, and Bloody Courtyard. Players can no longer use wine to reduce the amount of monsters present in the dungeon. Most bosses in the dungeon drop Spirit of Assault and Spirit of Defense, apothecary items used to buff players with various attack and defense buffs.
Map[ | ]
Weekly Quest[ | ]
There is a weekly quest available for players 90 and above in the Seat of Torment named Crisis Resolved (Week). It is separate to the weekly quest of the same name in Abaddon. This weekly quest requires the player to kill Trap Master Fierce in Hell Trap, Hellfire Abomination in Nightmare Gate, and Queen of Agony, Xipher, in Bloody Courtyard. Completing the quest will award the player with a Crushed Emblem, which can be exchanged for different items.
To receive the quest, the player can talk to the Celestial Messenger outside of the dungeon, located at (424, 578) or the Immortal's Student located inside the dungeon at the entrance.
Nightmare Gate[ | ]
Within the Nightmare Gate are three bosses - Torturess Venerator, Lord of Captivation, and Hellfire Abomination. The area consists of monsters with various physical and elemental immunities. It also contains 3 pillars to the east and west of where players are teleported, each of which have their own sets of immunities.
- Tower of Molten Flame: Fire/Metal immune
- Tower of Reinforced Ice: Water/Earth immune
- Tower of Thorned Bramble: Wood/Physical immune
These towers serve as transport towers for the Hellfire Abomination to summon demons from other worlds, while also protecting him from physical and elemental damage. While these towers are still standing players will not be able to deal damage to Hellfire Abomination. Destroying a tower will remove the corresponding immunities from him. For example, destroying the Tower of Reinforced Ice will allow the boss to be damaged by water and earth damage. Upon destroying a tower, an on-screen message will appear indicating that the Hellfire Abomination can be damaged by the corresponding elements of the tower that was destroyed.
Players do not need to destroy all 3 towers; only towers that are necessary for players to deal damage to the boss need to be destroyed. Some classes may have difficulty taking down towers and may have to resort to using melee physical attacks on the towers, using certain elemental attacks that they may less commonly use, or seeking help from other classes.
Other bosses in the dungeon are not affected by these 3 towers and can be killed without destroying any towers.
Torturess Venerator[ | ]

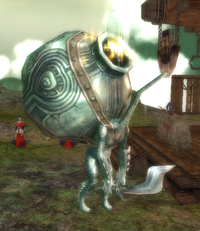
Torturess Venerator.
Torturess Venerator is a boss required to complete the Master of Harmony cultivation for sage characters, and is also a Call to Duty boss. It is located on a cliff on the east side of Nightmare Gate, south of the Tower of Molten Flame. Its Call to Duty pillar can be found at the entrance of the dungeon, and also in the same area the boss is in. It is a level 150 boss with 2,234,797 health, with higher water defense and lower earth defense. Previously the boss was immune to all water damage, but now can be damaged by any element.
During the battle the boss will buff itself with increased attack rate. It will also deal damage to a single target(verify) while also reducing their water resistance and run speed. This attack and corresponding debuffs can be blocked using physical immunity skills. It also deals ranged AoE metal damage.
At roughly 60% and 30% of health, an on-screen message will appear notifying players that the boss will heal itself if it is not interrupted in time. Players can use skills that interrupt channeling to prevent the boss from healing. If they fail to do so, the boss will heal a large portion of its health, normally enough to fully heal itself. This healing process will only happen once at 60% and once at 30% of its health, allowing players without interrupting skills to still be able to kill the boss without concern.
Lord of Captivation[ | ]
The Lord of Captivation is a boss that is required for a Bounty Hunter II quest for players level 100 and above. It is located on a cliff on the south-western side of Nightmare Gate. It is a level 150 boss with 2,934,797 health.
It is recommended to attack the boss using skills, as he will buff himself to take less damage from melee attavks. He will occasionally buff his physical attack. At multiple points throughout the battle the boss will also begin to heal himself over time for a short time, healing a decent portion of his health. He will debuff the tank with a bleed DoT that deals considerable physical damage, while also buffing their physical attack for a short time and giving the player extra Chi. The bleed DoT can be purified.
Hellfire Abomination[ | ]


Hellfire Abomination.
Location
The Hellfire Abomination is located on the southeastern cliff of the dungeon.
The Battle
He uses a magic AoE, an AoE that increases channeling speed, and random aggro. He will also buff his magic and physical attack.
Hell Trap[ | ]
Within Hell Trap are four bosses - Rancid Venerator, Suicidal Mass, Boozy Instructor, and Trap Master Fierce. Along the majority of Hell Trap are colored orbs that slowly travel down each path which players can avoid. These orbs do certain effects to the player if the player is too close to them.
- Red: Deals a set amount of damage to the player.
- White: Stuns the player for a short time.
- Purple: Teleports the player to the entrance of the dungeon.
- Yellow: Slows the player and debuffs them with a poison DoT.
The orbs are spawned from various mechanical objects which can be destroyed easily from range. Once the mechanical objects have been destroyed, the colored orbs in that particular area will stop spawning. They do not need to be destroyed but doing so will make it easier for players to travel through Hell Trap.
Between the paths are various monsters which players can easily AoE. Among these groups will typically be Infernal Captains, which have extra health and deal melee physical damage at a rate of roughly 1 attack per second.
Rancid Venerator[ | ]


Rancid Venerator.
Location
The Rancid Venerator is located just southeast of the Infernal Spikewing.
The Battle
Immune to earth damage.
The Rancid Venerator uses a mid-range AoE that deals physical damage and an AoE stun.
Boozy Instructor[ | ]
The Boozy Instructor is one of the only bosses within the Seat of Torment that serves little purpose as it is not required for any quests and is optional to kill. It is located near the central area of Hell Trap, in an area accessible by taking the left path while on the final path to Trap Master Fierce. It is a level 150 boss with 2,644,822 health.
The boss deals melee physical damage and does not deal ranged damage. He will occasionally stun the player at the beginning of the fight.
When his health has lowered a bit, at certain points the boss will say "Have a lil' drink with me, eh? Good for what ails ye!" and then grant the player a buff that will increase their skill damage for a limited time. Shortly after he will say "Bottoms up!" and then debuff the player with a curse, causing them to take increased damage. This debuff cannot be purified and can make the Boozy Instructor's attacks considerably strong. Shortly after this he will say "You really are a troublesome lot!" and deal AoE damage to players.(verify) These series of attacks will occur repeatedly for the remainder of the battle.
Trap Master Fierce[ | ]
Trap Master Fierce is a boss that is required to complete the Crisis Resolved (Week) weekly quest in the Seat of Torment, and is also considered the final boss for Hell Trap.
Mini Bosses[ | ]
Suicidal Mass[ | ]

Suicidal Mass.
The Suicidal Mass is a mini boss within Hell Trap. It is located in the central part of Hell Trap, before the paths to Rancid Venerator and the Boozy Instructor. It is not required for any quests but is encountered along the way to any of the bosses in Hell Trap. It is a level 101 boss with 2,649,511 health, with lower water defense. It is immune to fire damage.
At the beginning of the battle and throughout, the Suicidal Mass will reduce the maximum health of players in range. It will also attack the tank with fire damage on occasion, as well as AoE players in range with another fire damaged attack. Upon the Suicidal Mass' death it will explode, dealing damage and slowing players that are close to it in range.
Bloody Courtyard[ | ]
Within the Bloody Courtyard are five bosses - Purgatory Demon - Surya, Infernal Spikewing, Voidweaver, Demontorch Marauder, and Queen of Agony, Xipher. In two areas of the Bloody Courtyard are large dogs patrolling which are immune to damage and should be avoided. The dogs roam in an anti-clockwise direction around the paths at the beginning of the area, and in a clockwise direction around the paths prior to Infernal Spikewing and Queen of Agony, Xipher.
Because they are level 100, classes such as assassins can use stealth to easily avoid the dogs. They also walk at a slow pace and have a small aggro range making it fairly easy for players to avoid them by quickly running past them or following behind them. If the player attacks or gets too close to a dog, then it will chase the player and constantly attack them. Players will not be able to outrun the dog as it can run at a speed of 15 meters per second, the maximum running speed for characters. The only way to escape a dog is to either use a stealth skill, teleport to another area via Autumn Song's Soul, or die.
In the same areas that the dogs patrol are also Requiem Crystals and Wildrose Blossoms, which can be mined to collect items to be used during the fight against Queen of Agony, Xipher. It is optional to gather these items however they may be useful to have them during the battle. The crystals and blossoms respawn over time.
Purgatory Demon - Surya[ | ]
Purgatory Demon - Surya is one of the only bosses within the Seat of Torment that serves little purpose as it is not required for any quests.
Infernal Spikewing[ | ]

Infernal Spikewing.
Location
The Infernal Spikewing is located on the northern most of the western cliffs.
The Battle
Immune to metal damage.
He has a long range AoE that can interrupt as well as an AoE metal/fire resistance debuff and a short range AoE.
Demontorch Marauder[ | ]


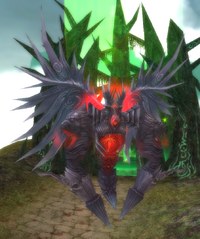
Demontorch Marauder.
Location
The Demontorch Marauder is located in the center of the dungeon. He will only spawn if you kill the Decaying Defender guarding Infernal Spikewing within 60 minutes of killing Voidweaver.
The Battle
Immune to wood damage.
He uses an AoE fire resistance debuff and a magic AoE.
Queen of Agony, Xipher[ | ]
The Queen of Agony, Xipher, is considered to be one of the final bosses of the dungeon.
Mini Bosses[ | ]
Voidweaver[ | ]

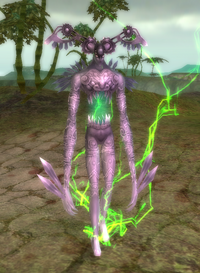
Voidweaver.
Location
The Voidweaver is located on the platform in the northeastern most area of the dungeon.
The Battle
Immune to water damage.
He will use an AoE physical defense debuff as well as an AoE physical attack. Throughout the fight, he will bramble himself. This buff is only a few seconds long, but melee tanks should take care to not kill themselves on it.
Quests[ | ]
The following quests can be completed inside the Seat of Torment:
- Call to Duty: Purgatory
- Bounty Hunter II (Level 100+)
- Divine Order: Voidweaver
- End the Scheme (quest to unlock Old Unicorn Forest)
- Scarlet Death (quest to unlock Old Moonshade Desert)
| Dungeons | |
|---|---|
| The Midlands |
|
| Call to Duty | |
| Lothranis and Momaganon |
|
| Morai | |
| Primal World | |
| Celestial Vale | |
| The Western Steppes | |