
 |
This article needs your help. The reason given was:
Please edit this page to resolve the problem and remove this tag. |
| This article may need cleanup to meet quality standards.
Please help improve this if you can. The Discussion page may contain suggestions. |
Please help improve this if you can. The Discussion page may contain suggestions.
Advanced Endless Universe is a dungeon located in Morai and has the same layout as the Endless Universe, but has multiple modes with different bosses. It is available to players that are level 100+ and have completed a portion of quests in Morai. The dungeon has three different modes with specific tasks, but Aurogon is the final boss in all three modes.
Rewards in Advanced Endless Universe include level 79, Celestial Sage, Celestial Demon, and Morai Skill Books.
Entry
To gain access to Advanced Endless Universe you will need to complete a portion of a short quest chain named A Tiny Fib. This quest is available at level 100+ and does not require completion of the Morai Quest Chain but you must be able to enter Morai. The first quest for this chain, Growing Concerns, can be picked up at any of the 3 Order's camps (Shrouded Temple, Nexus of Luminance, Corona Sanctuary). If you don't get a popup at the Orders, you may have already done this step. Once you have completed the quest "A Final Step" you will be able to access Advanced Endless Universe.
To enter the dungeon, use the portal above the Endless Universe entrance at the Altar of Shades. Entering does not require any items, and you may enter multiple times a day. In order to get a reward you must have a Jade Dragon Order. Prophet Zakaresh inside the dungeon will give 6 of these per week, and the Bounty Hunter I level 100+ quest for Aurogon will give another one for free. You must have these in your inventory to get a reward, but you can participate without them.
Rewards
- Level 100 - 800k exp, 180k spirit, 10 influence
- Level 101 - 1.3 mil xp, 180k spirit, 10 influence
- Level 102 - 1.8 mil xp, 180k spirit, 10 influence
- Level 103 - 2.3 mil xp, 180k spirit, 10 influence
- Level 104 - 2.8 mil xp, 180k spirit, 10 influence
The final boss drops Apothecary such as God's Tea, Samsara Wheel and more. He has also drops Immaculate gems. The box's consolation reward is also Apothecary including: 10 Dew of Stars, Espionage Potions, Ironguard Powders, White Tea and more. The good reward is Advanced Morai Skill books, which are tradable.
Modes
The dungeon will start in 1 of 3 modes at random. The squad cannot choose which mode they get, though it is common for squads to reset the dungeon through disbanding and reinviting to get a desired mode. Jade Dragon Orders are consumed when the dungeon starts, so they will be lost if the dungeon is reset in this way.
Bushes/Matrix Path
This mode may also be known as the Locen path.
Locen Sub-boss
Task One:
Start out by simultaneously digging 8 crystals. You can do the instance with 8 people. This releases an NPC who tells you to help her create a seal to remove the "Immune to damage" buff from Locen. Locen wanders around the instance, and you must hide from him in sparkling purple bushes that put you in stealth mode when he gets close. After he passes you can go out and continue your tasks. The Warning Crystals let you know where in the instance the boss is (North, South, West, East), so you have some warning if the boss is getting close.
Task Two:
You have to activate the forge for the NPC to create pills, then gather materials for her. Anyone can turn in in quantities of 5, and the quest only requires 50. The monsters are very easy throughout the instance. The hardest part in this instance is operating the forge, which requires considerable teamwork and retries. You need to set a continuous AoE to control the HP of the fires that spawned around it, and douse or blow on the fires via the forge's quest as needed. You have to keep the fire's HP between 1 and 100 without it hitting either extreme so you need to damage them all at same time, then you water the fires via the quest for a bit until it finishes making the pill. I've heard this can be done by removing weapon and slapping the fires as well. As long as the damage is low and constant, it should work.
Task Three:
The pills crafted by the forge enable you to see the Skeleton Guardians which are in stealth. Kill enough Skeleton Guardians to proceed to the next step.
Task Four:
One person has to talk to the forge to receive a rat mask and transform into a rat. Talk to Obsidian Transience as a rat and dig the Inscription that spawns after. There is a chance the bosses might not be fooled by the disguise and attack the player instead. Kill the bosses to spawn the Inscription.
Task Five:
When you get to the mirror, which must be dug to spawn, look into the circle above the mirror for what shape you have to light the seals in. Once this is complete, the NPC swill automatically set up a seal trap for the boss to walk onto.
Locen, the Emperor of Flame
This boss is at (359 580) and has a nasty fire attack so you must stay close to the icicles on the ground. He also has a stun AoE. After he dies, the final boss spawns at the bottom of the lake so we jumped down.
Twins Path
This mode may also be known as the Aohe path.
Aohe Sub-Boss
The instance will start with an NPC named Helios fighting a boss named Aohe, who is immune to damage. You are limited in time in that you must complete all the tasks before Helios dies. If Helios dies at any point, you must restart.
You must kill the pillars on the second island by luring the Wraith monsters into the golden circle around them. When the Wraith monsters die, they will summon firecrackers which when they explode and deal damage the pillar. If the Wraiths do not die inside the golden circle, the firecrackers will not be close enough to damage the pillar. To save all three, do the closest two pillars at the same time. When a pillar dies, you must port to the island by taking the quest on the gem that spawns and rescue the Apprentice by killing the monsters. When the all Apprentices are free he will head to the third island and start fighting the Spirit of Aohe.
After the second pillar is destroyed, monsters will start attacking the Apprentice who is fighting the Spirit of Aohe so you must send a group to defend him while freeing the last Apprentice. If all three Apprentices die, you fail and must start again. If Helios dies at this part while fighting Aohe, you must start again.
Once all of the Apprentices are free and fighting the Spirit of Aohe, have the rest of the squad head over to help defend them from monsters. After a while, the Apprentices will finally kill the Spirit of Aohe which will spawn the Aohe boss.
Aohe, the Dark Emperor
This boss is at (376,575) or (371,578) and has two versions. The too bosses have to be killed at approximately the same time.
Physical Immune:
He casts Absorbing Array AoE and does a Physical Defense and Fire Defense debuff. He doesn't hit too hard normally, but with the Physical Defense debuff he will be hitting quite hard so make sure your tankiest caster is tanking. He also turns people into frogs occasionally.
Elemental Immune:
The other boss has an AoE debuff that reduces fire resistance to nothing, then this one will cast a fire DoT AoE. This is why they must be kept as far from each other as possible. Soul of Fire might be really useful for this boss or having a Psychic nearby to AoE purify.
Once this boss dies and you pat yourselves on the back, jump down to kill final boss as normal.
Balance Path
This mode may also be known as the light/dark path or the Chigo path.
Chigo Sub-Boss
Two NPCs will spawn; Dark and Light. You must defend Dark and Light at the same time, so split your squad into two groups. The groups should be of equal damage value, even if it's not high.
Follow the monsters to two different spots on the map, and monsters will start to cross the bridge near them. Your goal is to reach 200 points (see the quest in your Quest Log) so around 100 each group. If the difference in points between the two groups exceeds four, the accumulated score will start to drop. In order to complete it quickly, you must keep the numbers relatively close by watching the score and measuring how much damage is needed. There is a 16 minute time limit to this part.
After this step is complete, Dark will charge into where he thinks the Boss is but it's a trap. Light realizes it and tries to save him. He tells you to kill the correct elemental pillar to free Dark. Killing the wrong pillar spawns some monsters but they're not a big deal. The boss spawns instantly in the middle as soon as Dark is freed.
Chigo, the Serpent Emperor
The system will spam you to get close to him messages. They mean get as close to the center platform as possible. He does an AoE that will hit really hard if you are far away. At 1.3mil HP he does an AoE purge. Finally, he'll do an Earth delayed one-hit DoT (Telekinesis). This must be removed via purify or triple spark or you will die.
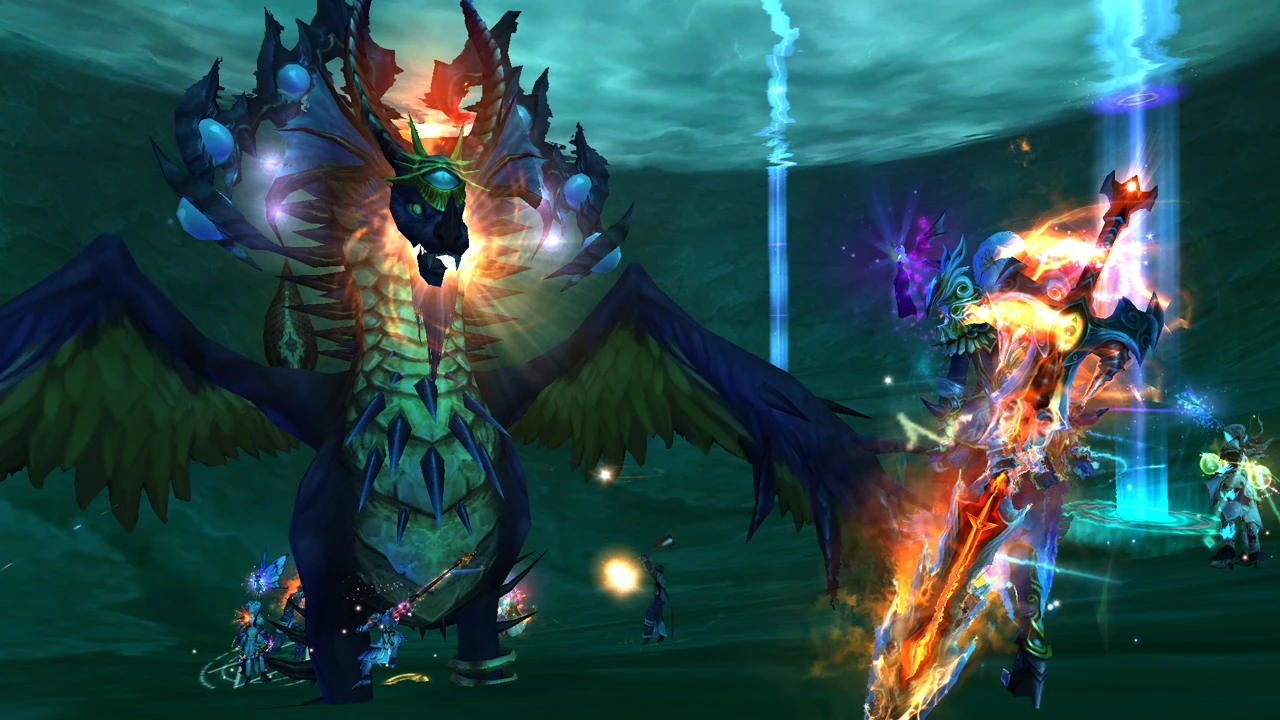
Aurogon, the Dragon Emperor
Aurogon, the Dragon Emperor.
This is the final boss of Advanced Endless Universe regardless of which version you get. He teleports around every few million HP you knock off it. Each respawn has less HP than the last to represent what you knocked off. The boss spawns a number of different monsters but they aren't dangerous. One thing to watch out for is the Bless buff icon which significantly reduces the damage you deal to the boss. Kill the Ghost Wings that spawn to remove the boss's buff. When the boss dies, the NPC from which you can receive your reward will spawn.
Videos
| Dungeons | |
|---|---|
| The Midlands |
|
| Call to Duty | |
| Lothranis and Momaganon | |
| Morai |
|
| Primal World | |
| Celestial Vale | |
| The Western Steppes | |