
| This article may need cleanup to meet quality standards.
Please help improve this if you can. The Discussion page may contain suggestions. |
Please help improve this if you can. The Discussion page may contain suggestions.
The Hallucinatory Trench is much like a souped up version of the Secret Frostcover Grounds (FB51) in that there are many mobs that wander and use ranged attacks.
Location: Nightscream Isle, across the bridge and down the path
Wine: Afterglow x2
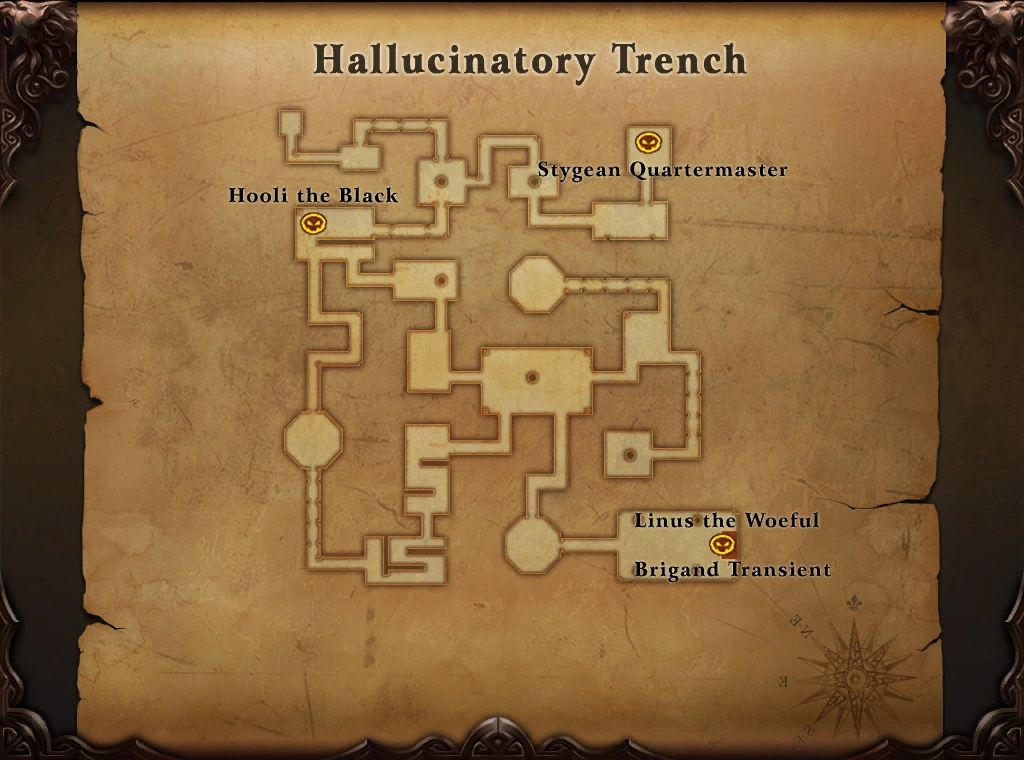
Map
Doors/Guards
Recently, the doors were removed from the Hallucinatory Trench. In their place, there have been a few clapping hands added, similar to the hands in TT. Use some caution in passing through these hands, as they have a much quicker cooldown than their TT counterparts.
All hands are in hallways on the short path between Hooli and the final two bosses:
- 3 hands in the first hallway. (Adjacent to the pink door line on the map above.)
- 2 hands in the next hallway.
- 2 hands in the last hallway. (Leading to the room with access to Brig/Linus, the tower guard, and Loon.)
There is no longer any need to kill the tower guard as the door to the final boss room is always open.
Bosses
There are 5 bosses inside the Hallucinatory Trench.
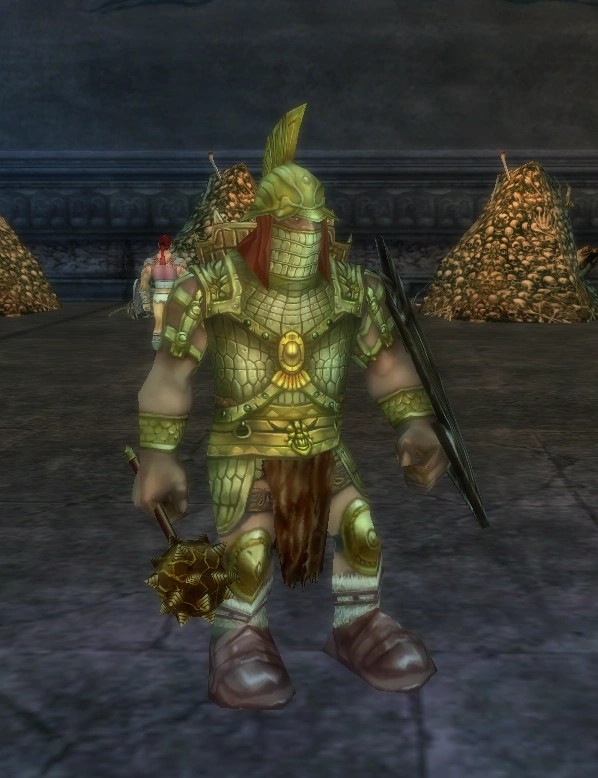
Stygean Quartermaster
Location
Styg is located in the far northeast corner of the map.
The Battle
Styg uses very strong physical attacks. At the beginning of the battle, he will use ranged attacks but after he runs twice, he'll switch to melee (if your tank is melee).
Drops to Note:
- ☆Master's Heavy Bracers
- ☆Master's Arcane Bracers
- ☆Master's Light Bracers
- Mold: Light Hat of Devil Bone (< .13%)
- Mold: Ghoul Bane (< .4%)
(molds that no longer drop from boss)
- Mold: Armor of Grieving Sorrow (~30%)
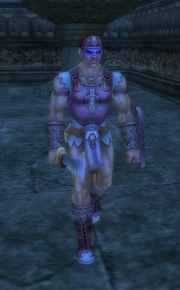
Hooli the Black

Location
Hooli patrols the large rectangular western room.
The Battle
Hooli uses a mix of ranged fire attacks and physical melee attacks. Easy to melee or range tank.
Drops to Note:
- ☆Master's Heavy Mail
- ☆Master's Robe
- ☆Master's Light Mail
- Mold: Heavy Helmet of Ape (< .7%)
- Mold: Greaves of Fallen (< .7%)
(molds that no longer drop from boss)
- Mold: Helmet of Pirate (~30%)
- Mold: Amulet of the Black Hand (~14%)
- Mold: Guardian of the Realm (< .1%)
- Mold: Cudgel of he Barbarian Lord (< .1%)
- Mold: Dragonfly Assault Blade (< .1%)
Bloodlusted Loon

Location
The Loon patrols the last room of the long path leading to the center room.
The Battle
The Loon uses physical melee attacks. He isn't too difficult, but most squads skip him to save time.
Drops to Note:
- ☆Master's Heavy Boots
- ☆Master's Arcane Boots
- ☆Master's Light Boots
- Mold: Heavy Helmet of Ape (< .7%)
- Mold: Greaves of Fallen (< .7%)
(molds that no longer drop from boss)
- Mold: Steppenwolf Lord's Cape (~15%)
- Mold: Massive Champion (~15%)
- Mold: Blood Bracers of Fang (~15%)
- Mold: Guardian of the Realm (< .1%)
- Mold: Cudgel of he Barbarian Lord (< .1%)
- Mold: Dragonfly Assault Blade (< .1%)
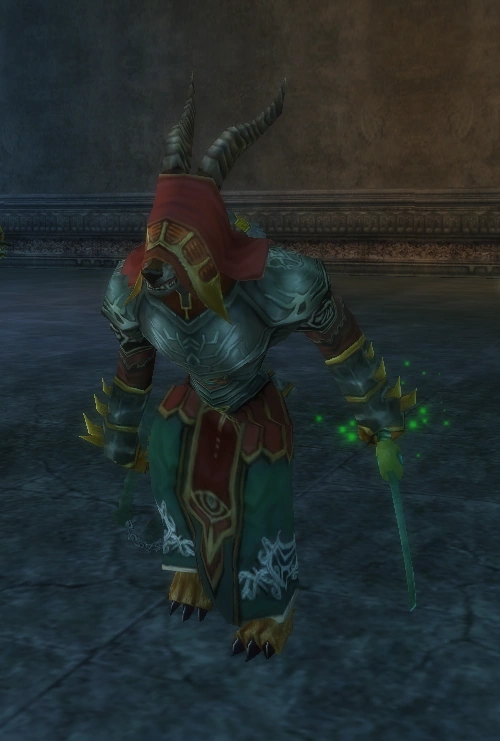
Linus the Woeful

Location
Linus is on the platform in the most southeastern room of the dungeon.
The Battle
Linus uses a mix of ranged magic attacks and melee physical attacks. It's common to lure both bosses, set up BB, and AoE them.
Drops to Note:
- ☆Master's Heavy Breeches
- ☆Master's Arcane Breeches
- ☆Master's Light Breeches
- Mold: Heavy Helmet of Ape (< .7%)
- Mold: Greaves of Fallen (< .7%)
(molds that no longer drop from boss)
- Mold: Misty Forest Ring (~33%)
- Mold: Glaives of Divinity (~18%)
- Mold: Guardian of the Realm (< .1%)
- Mold: Cudgel of he Barbarian Lord (< .1%)
- Mold: Dragonfly Assault Blade (< .1%)
Brigand Transient

Location
Brig is on the platform in the most southeastern room of the dungeon.
The Battle
Brig uses a mix of ranged magic attacks and melee physical attacks. It's common to lure both bosses, set up BB, and AoE them.
Drops to Note:
- ☆Master's Heavy Mail
- ☆Master's Robe
- ☆Master's Light Mail
- ☆Master's Heavy Breeches
- ☆Master's Arcane Breeches
- ☆Master's Light Breeches
- ☆Master's Heavy Bracers
- ☆Master's Arcane Bracers
- ☆Master's Light Bracers
- ☆Master's Heavy Boots
- ☆Master's Arcane Boots
- ☆Master's Light Boots
- Mold: Heavy Helmet of Ape (< .7%)
- Mold: Greaves of Fallen (< .7%)
(molds that no longer drop from boss)
- Mold: Sleeves of the Sea Captain (~77%)
- Mold: Cuisses of Sea Captain (~64%)
- Mold:Pirate King's Seal (~56%)
- Mold: Proud Plate of Corsair (~56%)
- Mold: Cudgel of Ancient Alloy (~56%)
- Mold: Guardian of the Realm (< .1%)
- Mold: Cudgel of he Barbarian Lord (< .1%)
- Mold: Dragonfly Assault Blade (< .1%)
Quests
The following quests can be completed in the Hallucinatory Trench:
- Spiritual Cultivation
- Avenger's Fury
- Linus, the Woeful
- Hunt Brigand Transient
- Call to Duty: Pirate (x4)
- The first two tabs are available at level 77 when you pick up the Avenger's Fury quest.
- The third tab is available when you complete the Avenger's Fury quest.
- The fourth tab is available when you reach level 79.
- Weapon Token VI
- Bounty Hunter (I/III Level 80-89: Stygean, Brigand; I/II/III Level 90-99)
- Oceanic Stone (OHT)
- Pirates' Treasures
- Cuprite's Flame
- The Pirate Chaos (202020)
- Last Hope (OHT quest)
| Dungeons | |
|---|---|
| The Midlands |
|
| Call to Duty | |
| Lothranis and Momaganon | |
| Morai | |
| Primal World | |
| Celestial Vale | |
| The Western Steppes | |