
Uncharted Paradise is an instanced dungeon that was added with the PWI Elysium expansion. The entrance is in the Primal World, at the top of the Shoka Sanctuary (493 456) southeast of Tideswell.
Players will need to face three challenges, each of them gradually more difficult, but the rewards are worth the hard job; the hard-sought materials required to craft the Dragonbreath Weapons of the Sixteen Lords of Elysium, the most powerful weapons in the world.
Completing Uncharted Paradise in Deicide Mode has a 70% chance to spawn the Mysterious Merchant, an NPC that sells items such as materials for Dragonbreath Weapons and Glyph Packs in exchange for gold or coins.
Uncharted Paradise Deicide Mode is a required dungeon for Faction Goals for the Faction Base. Squads with 2 or more faction members can also earn Chivalry Points and Loyalty Funds when completing the dungeon in Normal more or Deicide mode.
"The mysterious vortex still churns in the Silent Sea. Those who have explored it came back entranced, then went back to the vortex and never returned. It's now up to you to discover what secrets lie within its depths."
Story
The Uncharted Paradise was once a prosperous village, until the primal God, Pan Gu, flooded the world. Now it's destroyed and divided into seven pieces, each ruled by a powerful guardian. All one needs to do is gain entry into the Uncharted Paradise, and defeat three of the Guardians to collect the spoils of war. Sounds easy enough?
Those who said yes would be wrong. Things are never that easy in the Uncharted Paradise; each dungeon run consists of three challenges: the first and last will always be the same, but the challenge in the middle will be random.
Entry
To gain access to Uncharted Paradise, players will need to obtain a Relic of Wonder: Weapon. One daily is obtainable from Swordsman Zenray in the far southeast corner of Primal World. Entry is done at Zenray, and consumes a Relic of Wonder: Weapon.
Rewards
Once per day, players will receive a daily quest named Travel in Uncharted Paradise upon entering the instance. To complete this quest, players will need to kill Pathkeeper Bajan, the first boss, 1 Ocean Pillar Iron which appears after the boss in the 2nd trial is killed, and the Lord of Paradise, the final boss.
Completing this quest will give the following rewards:
- 10 Blood Spirit Stone
- 6 Gold-plated Iron
- 2 Ether Jade
- Profaned Wood (40% chance)
- Dull Zenith Skull Shard (40% chance)
- Ginseng Fruit Seed
- Piglet
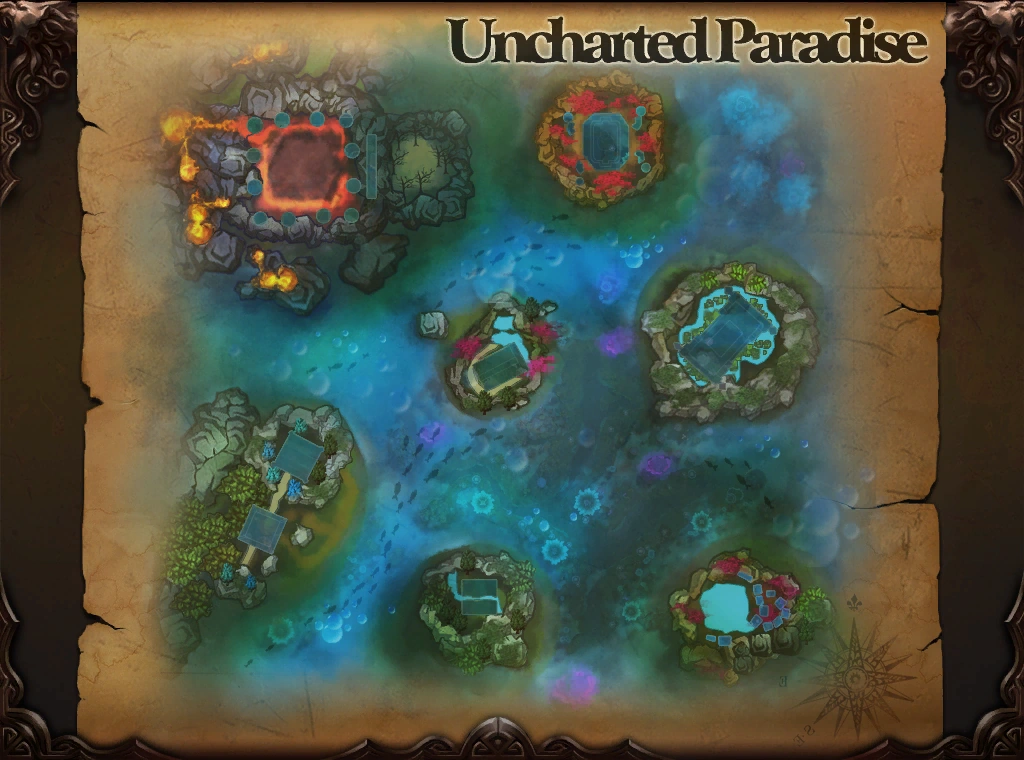
Map
Squad Structure
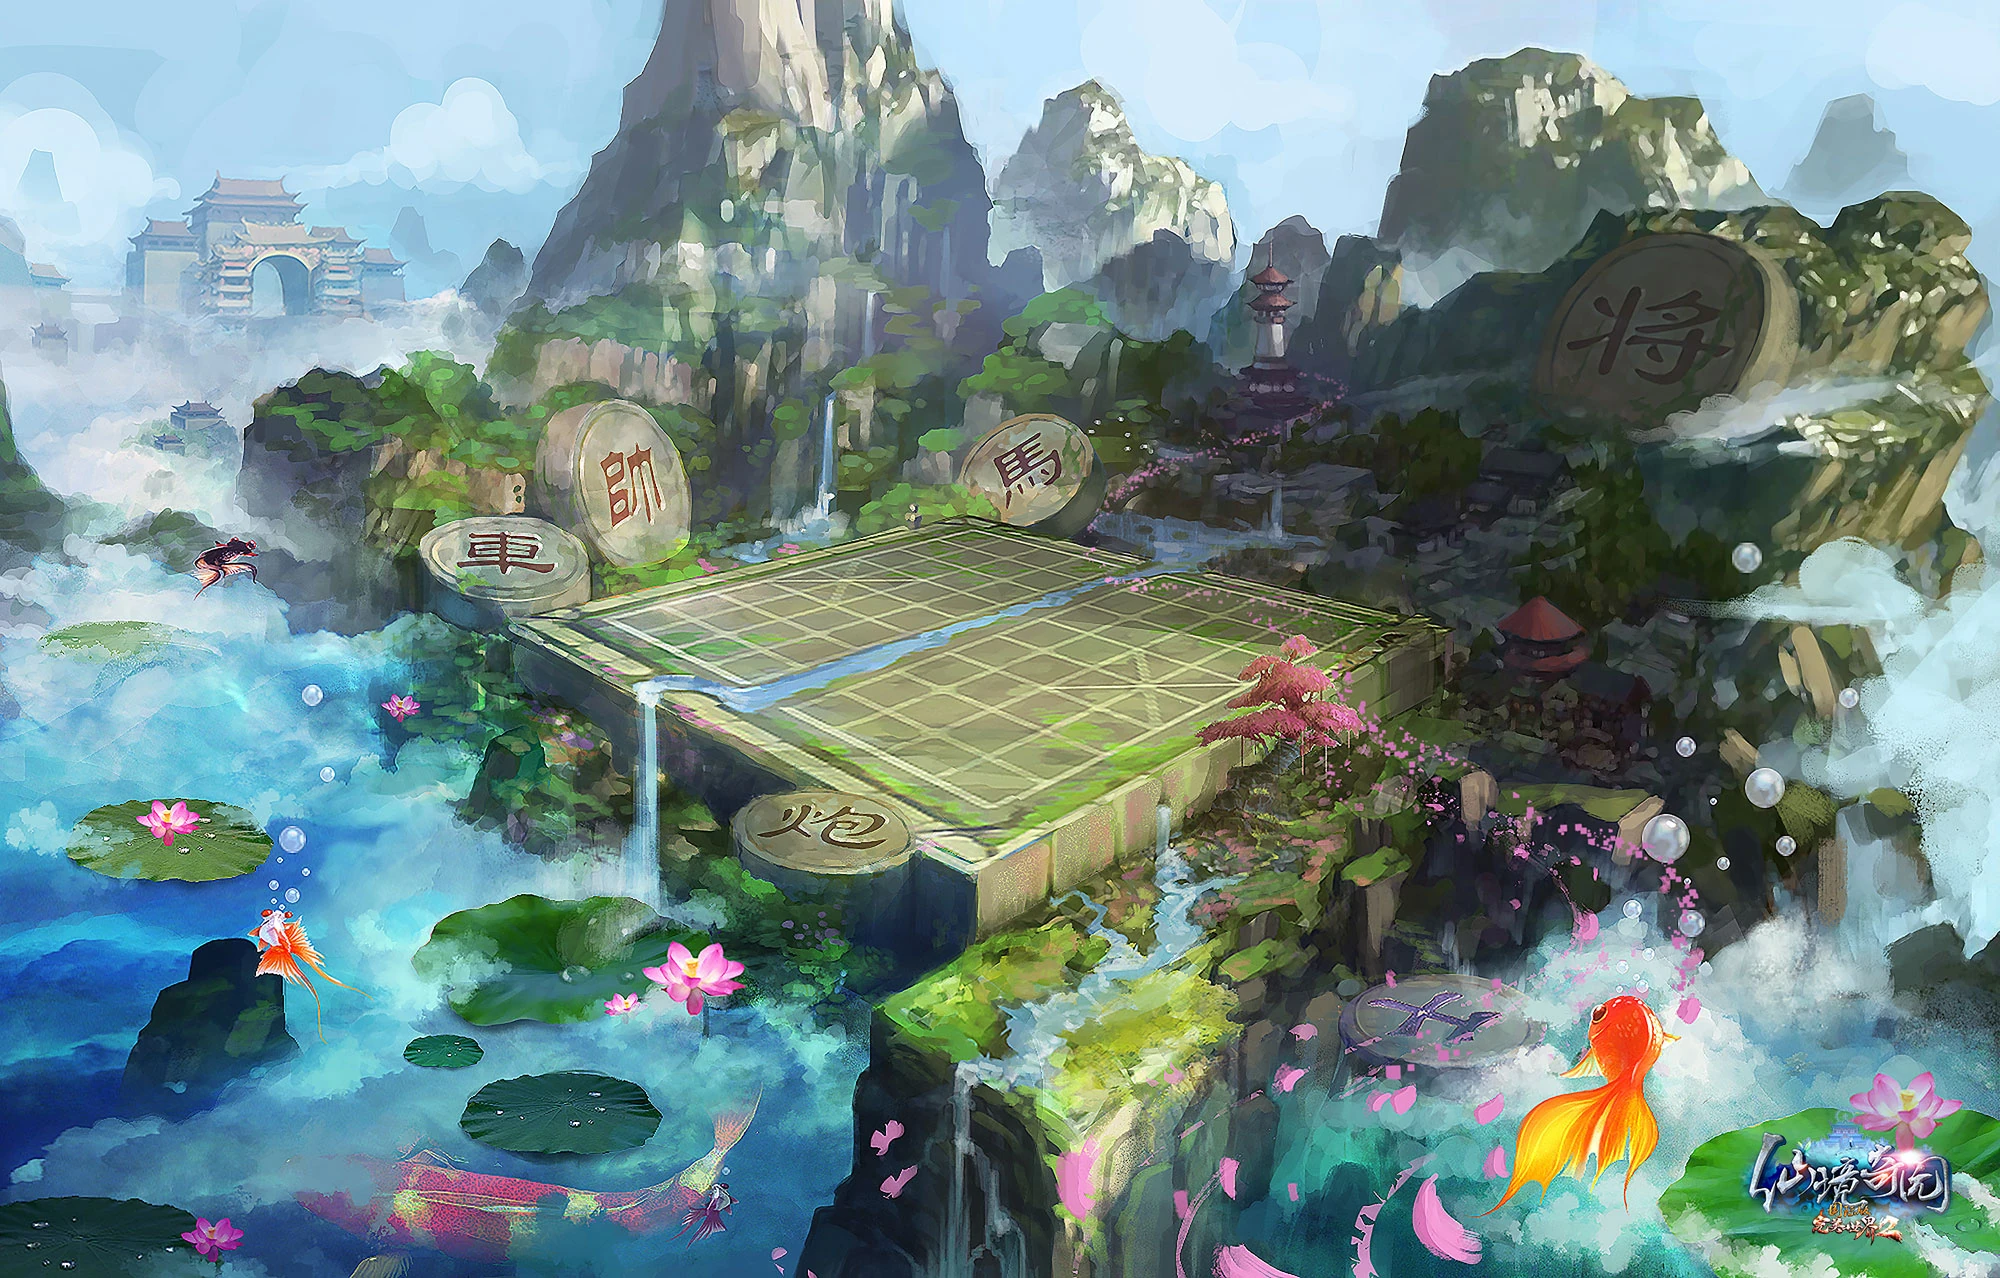

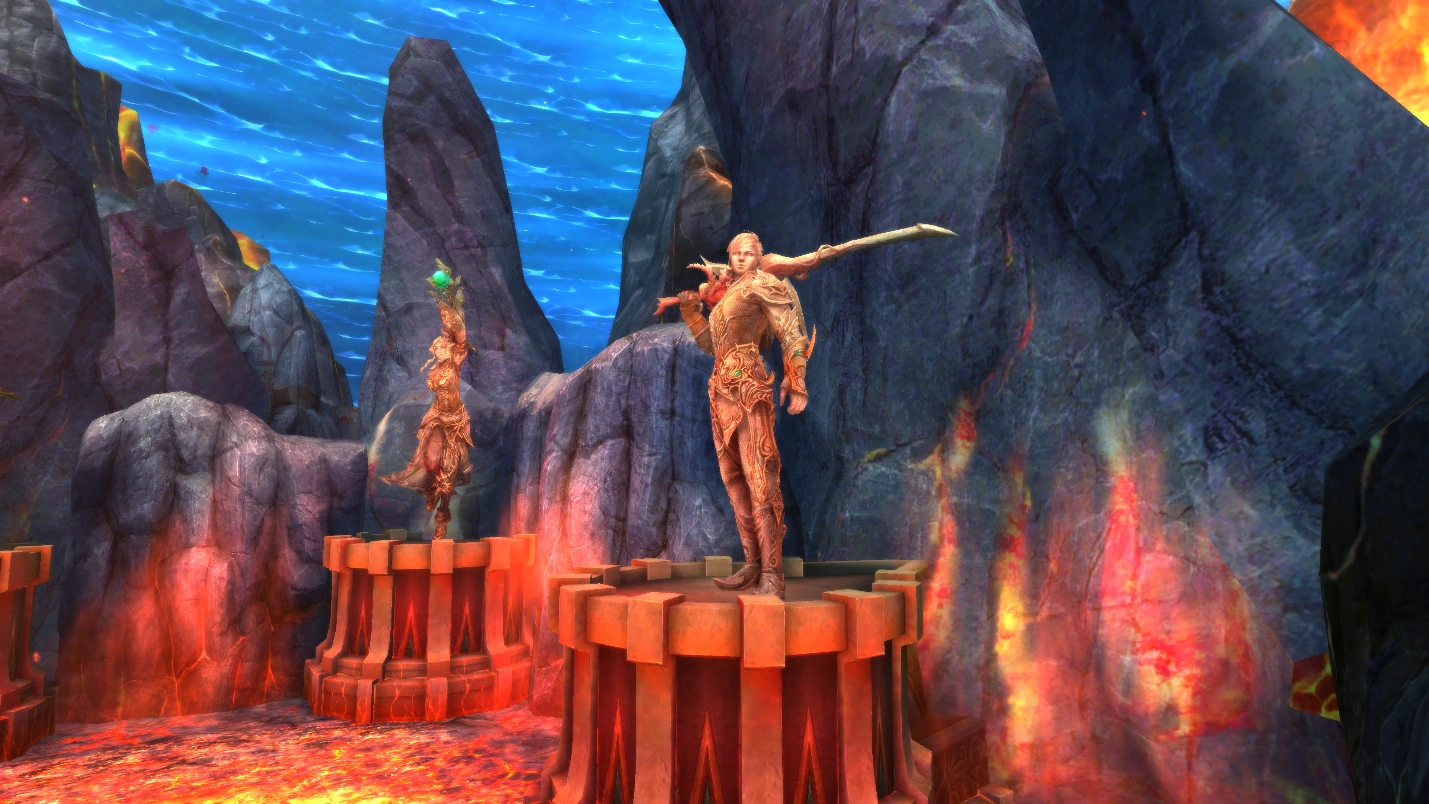
Art of the Uncharted Paradise.
As with every other instance, with the right squad this dungeon can be spark-nuked: the right Heaven's Flame, the right Amplify Damage, good damage dealers and so on; a Barbarian might not even be needed to tank. Rank 9 characters will have no trouble going through this, given they know how to handle the bosses. Even people in Awakened Nirvana gear should have very little problem with this instance once they have been through a few times.
- Two Clerics: if one dies, the other steps up to rise them back up. This problem can be solved with a Mystic, too: plus, they can be good damage dealers, if played right. If the Cleric is awesome, though, maybe one will suffice.
- One Blademaster (or more): preferably with demon or unified Heaven's Flame, for better defense debuff.
- A Venomancer: for Amplify Damage and defense debuffs.
- Ranged damage dealers: Archers or Seekers, or both, preferably.
- AOE damage dealers: Wizards, Psychics.
- A Barbarian: and one that knows his class, and has a good connection, and won't die. (Namely, over 27,000 HP and good defense levels)
- A Stormbringer: their Ultimate skill crashes the defense of bosses; amplifying the damage of the rest of squad by about ten times
Squad leaders: make sure no one has less than 10k HP, or if they do (never less than 8k) make sure they know how to play their class. Untamed have debuff skills and tanking capabilities, Humans have great power, Elves have the healing and AOE, Tideborn and Earthguard a high damage level, and Nightshades are great with CC. Make sure to bring classes that can attack all kinds of elements (wood, metal, fire, earth, water).
First Challenge - Trial of Unity and Pathkeeper Bajan
In the Trial of Unity squad will be presented with a chess board, with the two row in green, and the rest set aflame. Five players need to stand on the green circles, thus unlocking the second row. The next five players will then move forward, settling on the second row. The third row will be unlocked, and then the players in the first row will have to move to it. This is done until they reach the 9th and 10th rows, when the path will be clear, and squad members will have to jump forward to land among the pillars, and kill them (albeit this will kill several squad members; if possible kill what pillars from the board and then if not possible move the 9th row off followed finally by the 10th row).
Every pillar represents an element: water, earth, fire, metal, and wood, and they're all immune to physical attacks. Each pillar is vulnerable to precisely two elements: their element namesake and one other element. The attacks that can kill the pillars are as follows:
- Metal: metal, earth
- Fire: fire, water
- Water: water, earth
- Wood: wood, fire
- Earth: earth, physical
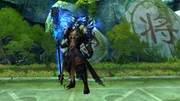
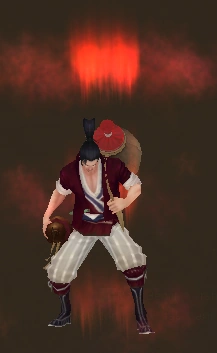
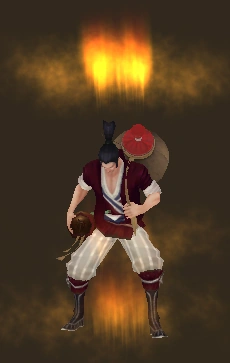
Pathkeeper Bajan

Pathkeeper Bajan.
There are two ways of doing this: spark kill, and the regular way. A couple of considerations about Pathkeeper Bajan:
At a certain point, he'll call forth the Avatars of the Elements, and they'll begin to approach him. If they reach him, he'll get empowered, and one-shot most characters (other than properly timing Pious Blessing, Absolute Domain, Pan Gu's Essence, or Ironguard Powder just right). The more avatars reach him, the more powerful his strike will be.
Each avatar will be immune to all elements except two. They can differ slightly from the pillars killed before the boss. The attacks that can kill the avatars are as follows:
- Metal: metal, earth
- Fire: fire, water
- Water: water, wood
- Wood: wood, fire
- Earth: earth, physical
He'll summon two red circles that one shot characters, consecutively, one bigger than the other; also reeling them in before that. Escape it, but never leave the blue walls (which will result in a squad wipe). Those who die should simply wait on the cleric's resurrection. If the cleric dies without resurrection available, the only hope is to pray.
If the squad chooses to kill Bajan the regular way, the moment the ads spawn they need to be held off. They're invulnerable to physical attacks, and only get affected by the attacks of their own element. Sins and psychics, for example, will be able to take the water one, while barbs, for example, can hit the wooden one with their Poison Fang buff - even though they're more useful with the earth avatar. It's all a matter of adapting to squad composition. It's not about killing them, but preventing them from reaching the boss.
This becomes harder to do when he reels in squad members and does his AOE one hit kill attack (the red concentric circles), because the ads will keep moving. Ranged attacks can hold them in place: merely aggroing them will stop them. Since there are five avatars, five squad members will need to be on guard duty, and the other five on damage duty. This makes Bajan easy, especially if members time their invulnerability aids properly.
Should the squad attempt to spark kill and it is determined that the stormbringer ultimate skill is necessary, members should spark when they see the stormbringer ulti drop.
Pathfinder Bajan will use the following skills:
- Melee Attack Reduction: APS protections
- Mortal Carnage Plus: Interrupts spellcasting, reels-in, then hits twice (delays between reel-in and each hit) via expanding red pools, critical damage
- Banner Lord: Summons five Banner Lords, one for each element. Each Banner Lord which reaches him will heal him for 25% and boost his attack
- Bajan Flame: Flames spawn on the ground at the location of the furthest player; will deal critical damage
Any members who are dead when Bajan dies will not get credit for the daily quest.
Second Challenge - Random Trial
The second challenge is a random trial chosen from the Trial of Calligraphy: Wordless Scholar, the Trial of Wine: Lame Drinker Weist, the Trial of Music: Unfettered Lady, the Trial of Strategy: Dark Guardian or the Trial of Painting: Seclusive Painter Yolan. Bosses from these these trials will spawn a Pillar upon dying which is required for the daily Uncharted Paradise quests and the daily Homestead quests. Unlike the other trials, the actual boss kill is not required for any quests.
NOTE: Everyone needs to be alive to kill the pillar that spawns after this boss is killed; any who are not in range and alive when it is killed will not get credit for the daily quest.
Trial of Calligraphy: Wordless Scholar
On the ground are ten "runes" painted, glowing with blue flames in some spots. These flames need to be activated in the right order per rune, or else the trial will be failed. Also, the runes need to be completed all at the same time. To know whether a spot has been activated, the flames will change from blue to red. Members should leave the last spot inactive, and wait on the rest of the squad to be ready to finish the runes all at the same time, and then step on the last flame to activate it and summon Wordless Scholar. This is the order in which the runes have to be completed:


Calligraphy Guide.
Most squads will choose to spark kill this boss. Most squads will choose to spark kill all bosses - except the last one. But for those who don't, members will need to re-do some of the runes: first one, then two, until the boss is in triple digit health. They can be done in any order (the boss is immune while the runes are active).
Wordless Scholar will use the following skills:
- Melee Attack Reduction: APS protections
- Incorrect Writing: (no longer applicable due to normal mode having been removed)
- Disturbed Mind: Players who try to solve Unitary Word Matrix and Binary Word Matrix will have Pool of Flame beneath them
The following skills are only active until 60% HP:
- Unitary Word Matrix: Below 90% HP, Wordless Scholar will begin spawning single calligraphies; solving it will disable his invulnerability for 30 seconds
- Ledger of Bane: Reduces the max HP of current aggro-holder
- Ink and Calligraphy: Fan-shaped frontal AoE attack
The following skills are active below 60% HP:
- Binary Word Matrix: An upgrade to Unitary Word Matrix; two calligraphies instead of one
- Paintbrush Demon: Summons a Paintbrush Demon near a random player
- Living Calligraphy: Summons a Living Calligraphy near someone who is solving the Binary Word Matrix every 30 seconds
- Stamp of Stab: Bleeds the current aggro-holder
- Stamp of Burn: AoE targeting a random player
- Universal Word Matrix Plus: Below 5% HP, all ten calligraphies spawn; must be solved within 70 seconds lest Wordless Scholar start casting skills that instantly kill players; this skill is guaranteed to cast before Wordless Scholar dies
There are also a number of adds:
- Paintbrush Demon: Randomly attack players, will either be immune to physical or magic damage
- Living Calligraphy: (the golden swastikas)
- Entanglement: Reel-in
- Ensnarement: Slow effect
- Duality: Either physical-immune or magic-immune while Paintbrush Demon is spawned
- Pool of Flame: Sends whispers to players they will target several seconds in advance of spawn, will deal critical damage
Finally, when the boss is at triple-digit HP (regardless of spark-kill status), all ten runes will spawn. Like previous sets of mid-boss runes, the boss will be invulnerable until the runes are all activated, and the order of activation from rune to rune is unimportant; each rune merely needs to be internally correct. Should the squad fail three times, the boss will reset.
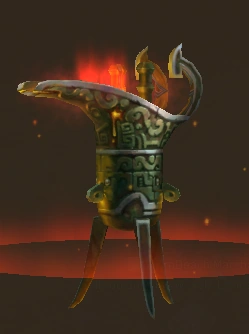
Trial of Music: Unfettered Lady

Unfettered Lady.
This is just Unfettered Lady. Simple but annoying.
- Avoid the red circles: they one-shot players
- Players will get a DoT stack, and the boss will absorb their health. They should go to the correct circle, according to their DoT: Poison, green circle. Fire, red circle. Sandstorm, yellow circle...
- She will spawn mobs in the middle, and there's one that gives her a damage reduction buff, but it's difficult to kill them in time because she'll almost immediately yell...
- ... that players need to find an instrument, or get one-shot. Follow the white lines on the ground to the pedestal, and cower in the circle.
Every time someone dies, the boss gets a damage reduction buff. It will stack to 10, and if it does, enjoy the virtually unkillable boss.
Unfettered Lady will use the following skills:
- Melee Attack Reduction: APS protections
- Jade Thread Armor: Gain one layer of armor for each time a player is killed; each layer reduces damage taken by 10%
- Southern Tunes Plus: At 99%, 80%, 60%, 40%, and 20% HP, randomly select an instrument to play and reduce damage taken
- End of Songs: Anyone who has listened to Southern Tunes Plus will die, only resistable by listening to a different song played by the same instrument
- Young Instrumentalist Summon Plus: Summon 4 Young Instrumentalists (Maple Fiddler Plus, Bamboo Flutist Plus, Ebony Lutist Plus, Rosewood Zitherist Plus). In addition to their normal skill, each will have random abilities
- Wail of Pain: A powerful AoE which is cast whenever a Young Instrumentalist dies; players are recommended to counter this with damage-reducing skills
The following skills are active above 70% HP:
- Strumming of Strings: Fan-shaped AoE aimed at current aggro-holder
- Blasting Soundwave: Summons a Blasting Soundwave at a random player's location
- Crow's Perch: AoE aimed at a random player, which has 50% increased damage per player hit beyond the first
The following skill is active below 70% HP:
- Undertone Boom Plus: Strong elemental DoT which absorbs healing, cast at 2 players randomly; may be purified only by standing in the corresponding aura
Unfettered Lady has the following adds:
- Blasting Soundwave: Deals critical damage to any in its very obvious radius after a short time
- Heavenly Fiddle: Shields players from Southern Tunes Plus when the fiddle is played
- Heavenly Flute: Shields players from Southern Tunes Plus when the flute is played
- Heavenly Lute: Shields players from Southern Tunes Plus when the lute is played
- Heavenly Zither: Shields players from Southern Tunes Plus when the zither is played
- Heart Ward Aura: A set of four auras which purify the effects from Undertone Boom Plus when used properly
- Maple Fiddler Plus: Moves towards Unfettered Lady; should she reach her, Unfettered Lady will gain a layer of Jade Thread Armor, and heal by 30% Max HP
- Bamboo Flutist Plus: Bleeds and has a powerful fan-shaped AoE
- Ebony Lutist Plus: Reduces players' physical attack and movement speeds
- Rosewood Zitherist Plus: Reduces players' magic attack and increases their channeling speed
Trial of Painting: Seclusive Painter Yolan


Trial of Painting's painting board.
There will be 10 players in the squad. Every member takes a number, from 1 to 10. 9 needs to cover for frozen players, and 10 need to be the AOE damage dealer and will be killing the mobs on the small fountain-like construction at the side to gather ink. The trial will call for a certain number of people, and a square on the painting will have a pillar of light. If it says "8 inks!" then players 1 through 8 need to rush there to paint it. Do not move until it says "Success!" in green and the image appears under members. Should the squad fail more than three times, the whole trial will reset.
Amidst a cloud of ink, Seclusive Painter Yolan will appear! She'll spawn lotus flowers on the edges, and players need to rush to them to get protected from her one-shot AOE. If people die, the boss will heal.
Seclusive Painter Yolan uses the following skills:
- Melee Attack Reduction: APS protections
- Soul of Painting: Passive skill which fully heals Yolan if HP is reduced below 25% within a minute of the battle starting
- Ink Essence: At 75%, 50%, and 25% HP Yolan summons Ink Essence, which will spawn a yellow and a blue aura; the correct number of players much go to each within 20 seconds, lest Yolan recover 25% of her HP
Above 75% HP, Yolan additionally uses the following skills:
- Mirky Water: Deal damage to all players at combat start equal to 20% of max HP
- Secluded Lotus Brush: Once every 30 seconds, transform the squad into puff birds
- Secluded Lotus: At 98% and 80% HP respectively, spawn a Secluded Lotus
- Rage of Lotus: Deals critical damage to all players, Secluded Lotus can protect players. Followed immediately by Edge of Lotus
- Edge of Lotus: Universal reel-in followed briefly by critical damage to all nearby players
Between 75% and 50% HP, Yolan uses the following skills:
- Secluded Lotus
- Rage of Lotus
- Edge of Lotus
- Souleater Lotus: Summons a Souleater Lotus near the Secluded Lotus
- Lotus Dark Array: Powerful AoE paired with untargetability for 5 seconds
- Fallen Brush: Summons three paintbrushes, each dealing 10% of max HP damage to nearby players; also summons a Souleater Lotus
Below 50% HP, Yolan uses the following skills; it is unclear whether all previous skills are also used:
- Violet Inkblob: Summons a Violet Inkblob at the current tank's position
- Summon Lotus Spirit: Summons a Lotus Spirit
- Summon Blacklight Wheel: Summons a Lotus Blacklight Wheel
Yolan has the following summons:
- Secluded Lotus: Constantly damages anyone within, but protects those same from Rage of Lotus
- Souleater Lotus: Plants that cast Occult Ice wherever they are. Kill them quickly
- Lotus Spirits: Need to be led to the Cloudrift Inkstone on the left side of the painting within 15 seconds of spawn, lest they drastically get buffed
- Cloudrift Inkstone: Eliminates Lotus Spirits
- Violet Inkblob: Reel-in players on a fixed route
- Lotus Blacklight Wheel: Follows a fixed route, will one-shot players
This boss is a lot of fun. Really.
Trial of Strategy: Dark Commander

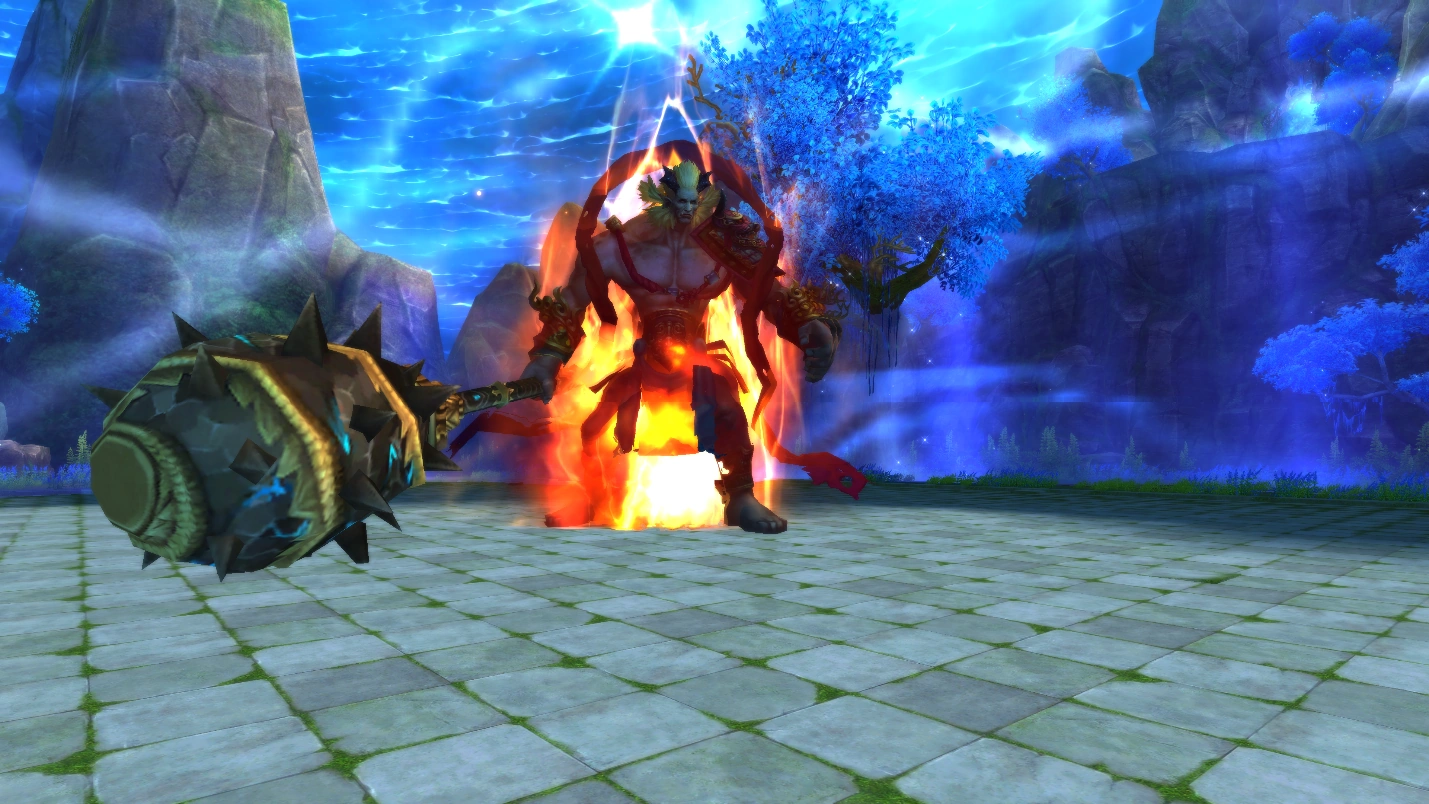
Dark Commander.
Non-AOE physical damage dealers and the tank should hit Dark Commander, and the other damage dealers should kill whatever he spawns. He'll begin tossing brown chess pieces at the other NPC across the board, and they need to be killed before they reach him. This can't be emphasized enough: they need to be killed, or else it's a reset.
In addition to this, he'll also call in catapults: stones will rain from the sky, and one-shot members in their target area. Also, he'll summon some chess pieces that send members flying up in the air, or stun them, or both. And lastly, he'll call forth siege engines / battering rams that will run players over and deal massive damage to them that is likely to one-shot them.
Dark Commander uses the following skills:
- Melee Attack Reduction: APS protections
- Marching Order: At battle start, the dark chess pieces (Chariot, Horseman, Bombard, Footman, Bodyguard, Elephant) will begin to move
- Thorny Armor: Cast at 80%, 60%, 40%, and 20% HP; reflecting damage taken for 10 seconds
- Vicious Onslaught: Every 20 seconds, will do an area-of-self attack
- High Morale: Regularly gains a shield that absorbs 500,000 damage
- Battlefield Posture: Cast every 20 seconds; AoE immobilize
- Heavy Bombardment: A random target is selected, which players will need to gather around lest they die. Unavailable should all Bombards be destroyed
- Battle Stampede: AoE 5 second paralysis
- Cannon Blast: AoE knockback
- Chi Ignition: Cast every 33 seconds; makes a target a living bomb which will explode after 6 seconds, dealing damage equal to 60% of their current HP
- Catapult Attack Plus: Beginning at 70% HP, launches 3 Burning Boulders at random locations
- Undead Troops: Cast at 70%, 55%, 40%, 25%, and 10% HP; Resurrect a chess piece and gain damage reduction for 15 seconds
- Ironclad Ram Plus: Cast at 50% HP; summons 3 Ironclad Rams
Dark Commander has the following summons:
- Chariot:
- Death Wish March: Passive skill; marches towards the other commander, bypassing rules and restrictions; should it reach the other commander, the players will lose
- High Mobility: Grants speed boost to all dark chess pieces
- Horseman:
- Death Wish March: Passive skill; marches towards the other commander, bypassing rules and restrictions; should it reach the other commander, the players will lose
- Bombard:
- Death Wish March: Passive skill; marches towards the other commander, bypassing rules and restrictions; should it reach the other commander, the players will lose
- Gunpowder Aid: Grants Dark Commander the Heavy Bombardment skill
- Footman:
- Death Wish March: Passive skill; marches towards the other commander, bypassing rules and restrictions; should it reach the other commander, the players will lose
- Relentless War Cry: Grants physical defense boost to all dark chess pieces
- Bodyguard:
- Chock Points: Grants all dark chess pieces damage reduction
- Elephant:
- Blessing of Life: Grants HP recovery to all dark chess pieces
- Ironclad Ram: Follows a set path, and deals 14000 damage (ignoring armor) to any and all players it hits
- Burning Boulder: Deals critical damage to any players caught in its blast

Chariot

Horseman
Bombard
Footman
Bodyguard
Elephant
Trial of Wine: Lame Drinker Weist
Pull Lame Drinker Weist over to the side, and don't let him go near the waterfall to "sober up"; he'll reset if he does. Clear the room first, starting in the center, and then around the cups. These little mobs (the wine elementals) will also spawn when the boss calls them, and this time will kill any member with 10 stacks of the debuff they give (each stack boosts skill damage by 5%). To get rid of it, the ranged damage dealers need to kill the Essence of Sobriety (a flapping golden gourd) and whoever's affected will have to rush to the blue circle that will spawn and "rinse the debuff".
Also, drunkards will spawn, but this time if they catch their target member they one-shot them! So players have to get their attention, and then lead them to the right cup. Those who don't know which is it are recommended to just run around, but it's usually red with red, white with white, yellow with yellow.
Lame Drinker Weist will use the following skills:
- Melee Attack Reduction: APS protections
- Non-Stop Toast: Cast every 30 seconds; summons a Wine Elemental
- Height of Drunkenness Plus: Cast every 20 seconds once battle starts; summons a Drunkard
- Hangover Deterrent Plus: Passive skill; Every 10 Wine Elementals killed will spawn an Essence of Sobriety
- Vintage Aroma: Cast every 30 seconds (more frequently below half health); inflicts a layer of Drunken on all players
- Drunken causes skills to do 10% more damage per stack (additive) but also weakens defenses; at 10 stacks defenses will be entirely destroyed
- Rehab in Vain Plus: Cast every 30 seconds (more frequently below 30% HP); battlefield-wide AoE which deals massive damage
Lame Drinker Weist uses the following summons:
- Wine Elemental: Does not deal damage; instead spams its target with Drunken
- Essence of Sobriety: Upon death, a puddle forms which purifies Drunken from any who enter
- Frontier Spirit Drunkard: Deals massive damage (melee); will be banished should it be drawn to Rhino Horn Chalice
- Millet Wine Drunkard: Deals massive damage (melee); will be banished should it be drawn to Bronze Chalice
- Southern Brew Drunkard: Deals massive damage (melee); will be banished should it be drawn to Porcelain Chalice
- Rhino Horn Chalice: Removes the Frontier Spirit Drunkard from the battlefield
- Bronze Chalice: Removes the Millet Wine Drunkard from the battlefield
- Porcelain Chalice: Removes the Frontier Spirit Drunkard from the battlefield
Millet Wine Drunkard
Rhino Horn Chalice
Millet Wine Drunkard
Bronze Chalice
Southern Brew Drunkard
Porcelain Chalice

The Trial of Reflection
Congratulations if you've made it this far! Now get ready to die. Seriously, though! This is the hardest part. Crack your knuckles, take a deep breath, and get ready to face...
Yourselves
Yes, whenever the squad leader starts this quest, the system will check to make sure that ten players are in squad, and sixteen puppets mimicking the various classes will appear. The squad count will continuously run throughout the challenge, and the following things can or will glitch the count and make any puppet kills not count (and the kill count reset):
- using immunity
- using skills that negate damage entirely or reduce it to 1
- using skills that prevent death
- using movement-debuff-immunity
- porting to town if you die
- resurrecting if you die
- breathing wrong (just kidding on this last one)
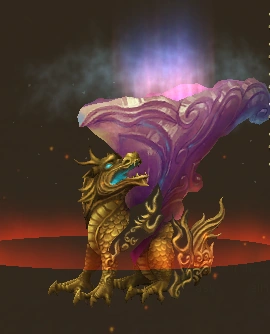
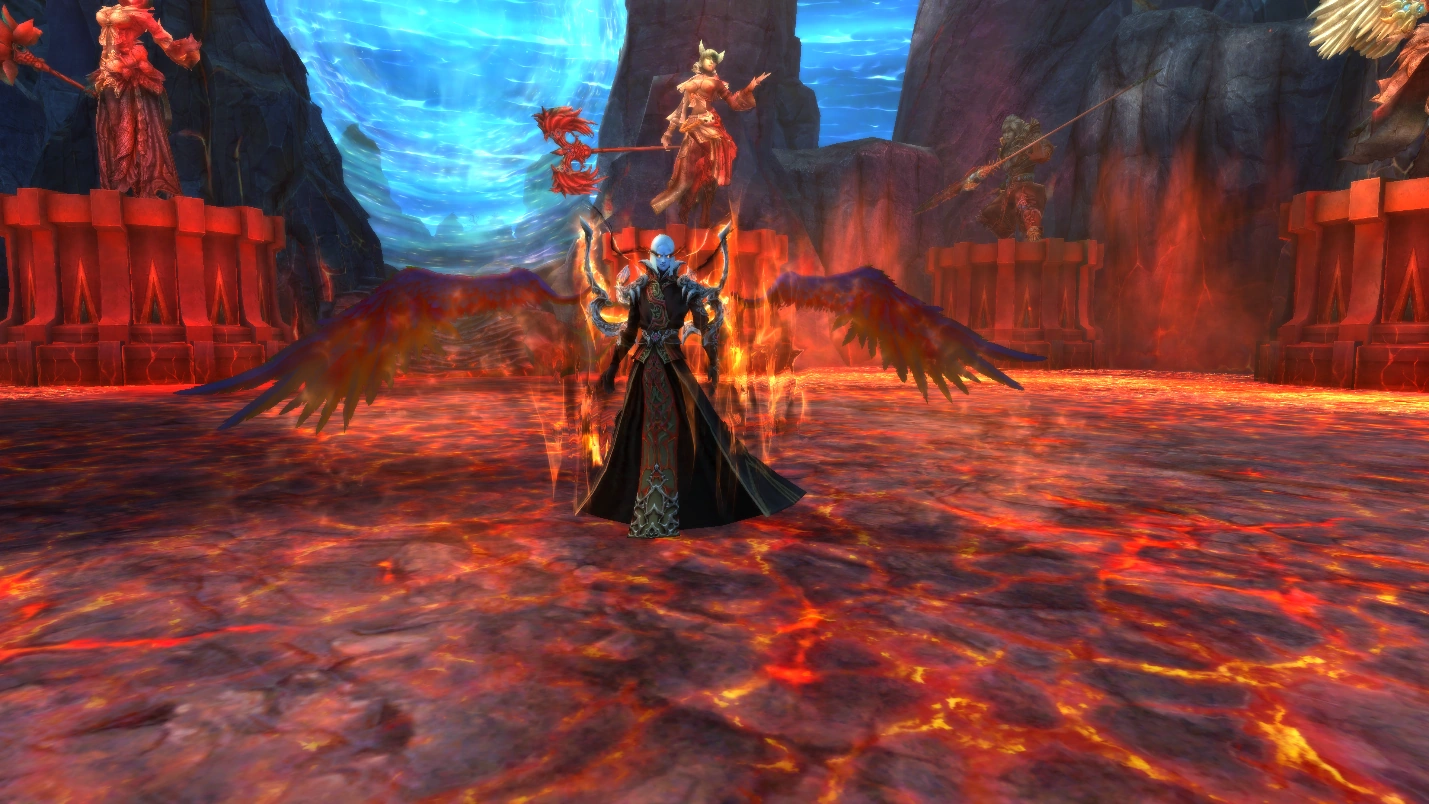
Lord of Paradise

Lord of Paradise.
This is where the Barbarian shines. And basically shines because if he doesn't, the squad dies (except on spark kill squads). If he dies, squad wipe. If he doesn't hold aggro and the cone of doom switches to the rest of the squad, squad wipe. If they die during the circles, squad wipes. Clerics are recommended to resurrect the barb first, before the squad gets obliterated. Members are recommended to take a good look at the statues, and remember where they are: the player will need to run to them soon enough.
The first thing Lord of Paradise will do is put a bomb on someone. Whoever has it, has to run away or get everyone else killed. Then, he'll show a red cone of doom that only barbarians can withstand, no matter the gear - unless it's very squishy.

Class statues in the Trial of Reflection.
At the 25% HP mark, the boss will reel members in, paralyze them, and then they'll have to rush to their statue. The boss will be untargetable during this, and then when he becomes targetable again, the barb should run towards him, aggro him, and start dancing around the circles; it is recommended to just track one circle and follow it. When he does the cone attack, if the barb is being aggroed, they'll kill everyone nearby. One way to circumvent this is to try to stand exactly between the circles as they pass, or to just move up and down between rows of circles quickly. This will happen twice outside of fast kills. With extremely good timing, members can also double jump over the circles.
After that, the worst part is over. He'll spawn mini-versions of various bosses from the instance, like Belle Leun or Aurogon does; it is recommended to simply dispose of them quickly. He'll additionally spawn meteors, distinguishable by the red circles on the ground, which one-shot players inside said circles when landing. When he's about to die, he'll spawn lava, which can kill members very quickly, as such it is recommended to simply run away from it. However, there will be no more cones of doom, dancing circles, or other such stuff.
Once this boss is started, the stairs leading into this room will be covered with a wide area of lava which instantly kills any members who step on it. Players can Holy path and double jump over it or use an immunity but are recommended to be cautious of cone or circles when re-entering. If members of the squad have died and struggle to get back into the area, they can stand at the top of the stairs and still be credited with the boss kill, but are recommended to beware of getting too close to the lava on the stairs.
Lord of Paradise uses the following skills:
- Melee Attack Reduction: APS protections
- Flame Burning: Cast until HP drops below 20%; flames are present in the battlefield which damage nearby players and absorb their healing
- Flame Strafe: Fan-shaped AoE endurable only by Barbarians
- Heavenly Flame Plus: Summons Heavenly Flame at 9 different random locations
Lord of Paradise will use the following skills during the first two stages, in which flame auras are present (above 60% health):
- Ultimate Burst: Deals critical damage to all players after 15 seconds (their 12 protector class statues can protect them - good luck figuring it out in event of Wildwalker, Technician, or Edgerunner); immediately followed by Flame Aura
- Flame Aura: Channeled for 90 seconds, dealing critical damage to any caught in the flame; followed immediately by Nightmare Sense
- Nightmare Sense: Any players without a fellow player nearby will be joined by a class nightmare fighting against them
The following skills are used during the first phase (above 80% health):
- Falling Meteor: A meteor will target a player; players must gather to survive
- Frenzy: Prolonged exposure to phase one will cause Lord of Paradise to frenzy
The following skill is used during the second phase (80%-60% health):
- Living Bomb: Turns a player into a living bomb; after 10 seconds, it will detonate and deal critical damage to nearby players
The following skills are used during the third phase (60%-20% health):
- Flame Aura: At 40% HP, Flame Aura resumes casting
- Boss Reinforcement: When Flame Aura is not present, one of the four bosses not yet faced will reinforce Lord of Paradise
The following skill is used during the fourth and final phase (below 20% health):
- Earthflame: Cast every 30 seconds; summons Earthflames at 3 random locations
Lord of Paradise uses the following summons:
- Heavenly Flame: After a short delay, deals critical damage to any players caught in its very obvious radius
- Earthflame: Any players inside will take large amounts of damage over time, and have their damage taken from all sources increased
- Unfettered Lady: Summons one of the four instrumentalists every 10 seconds
- Dark Commander: Summons a chess piece every 5 seconds
- Wordless Scholar: Summons Ocean Pillar Paintbrush (entangle and imprison) every 10 seconds
- Seclusive Painter Yolan: Summons an Ice Lotus (freezes) every 10 seconds
- Weist: Summons a Wine Elemental (stuns) every 10 seconds
Videos
| Dungeons | |
|---|---|
| The Midlands |
|
| Call to Duty | |
| Lothranis and Momaganon | |
| Morai | |
| Primal World |
|
| Celestial Vale | |
| The Western Steppes | |